
Damp under a window can look worrying, but its location often makes the cause easier to identify than damp elsewhere in a property. The key is to work out whether the moisture is coming in from outside or forming inside the room.
Windows are weak points in two ways. They are more exposed to rainwater around the frame, sill and masonry, and they are also among the coldest surfaces in the room. That means damp near a window usually comes down to condensation, penetrating damp or, less commonly, rising damp.
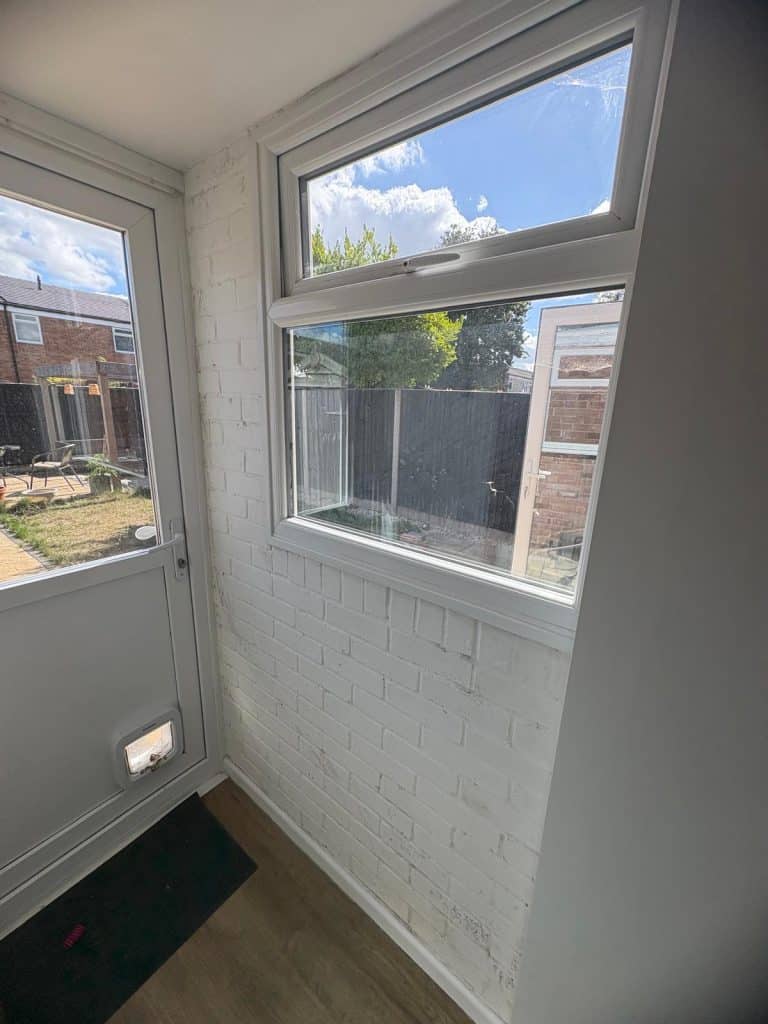
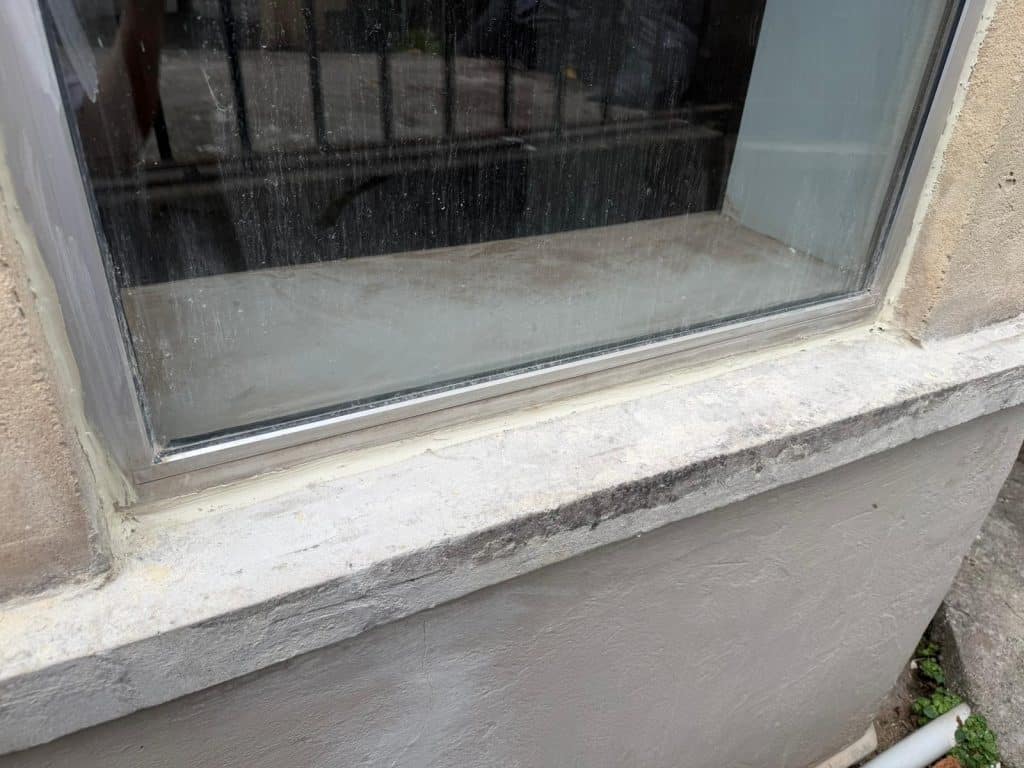
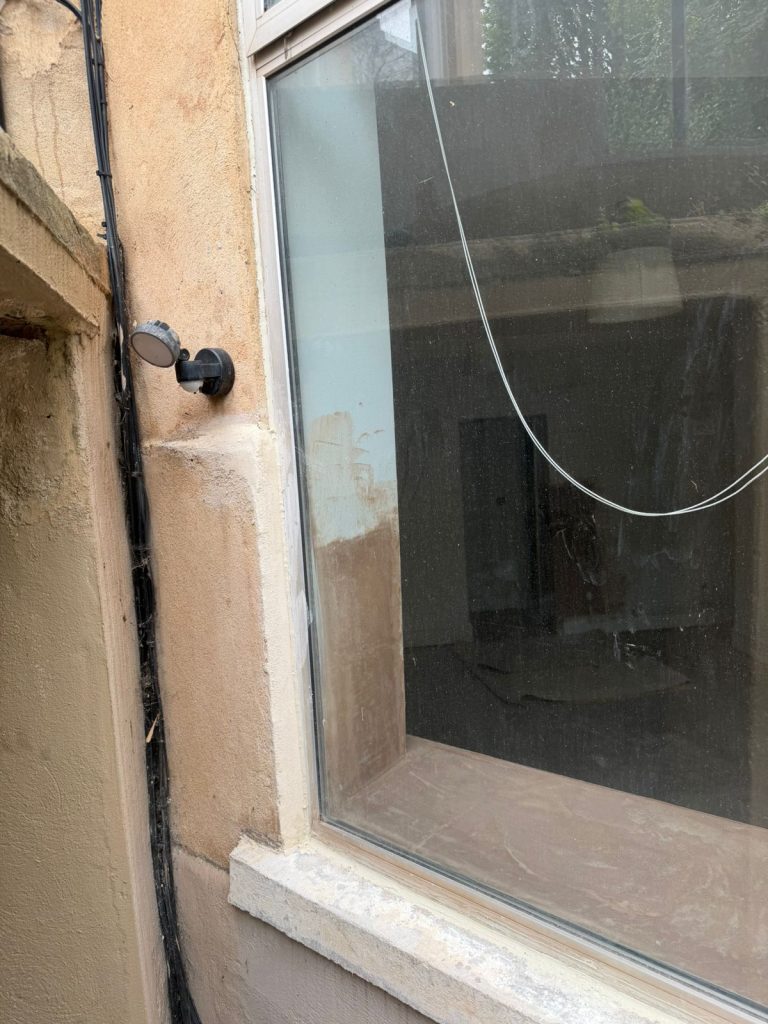
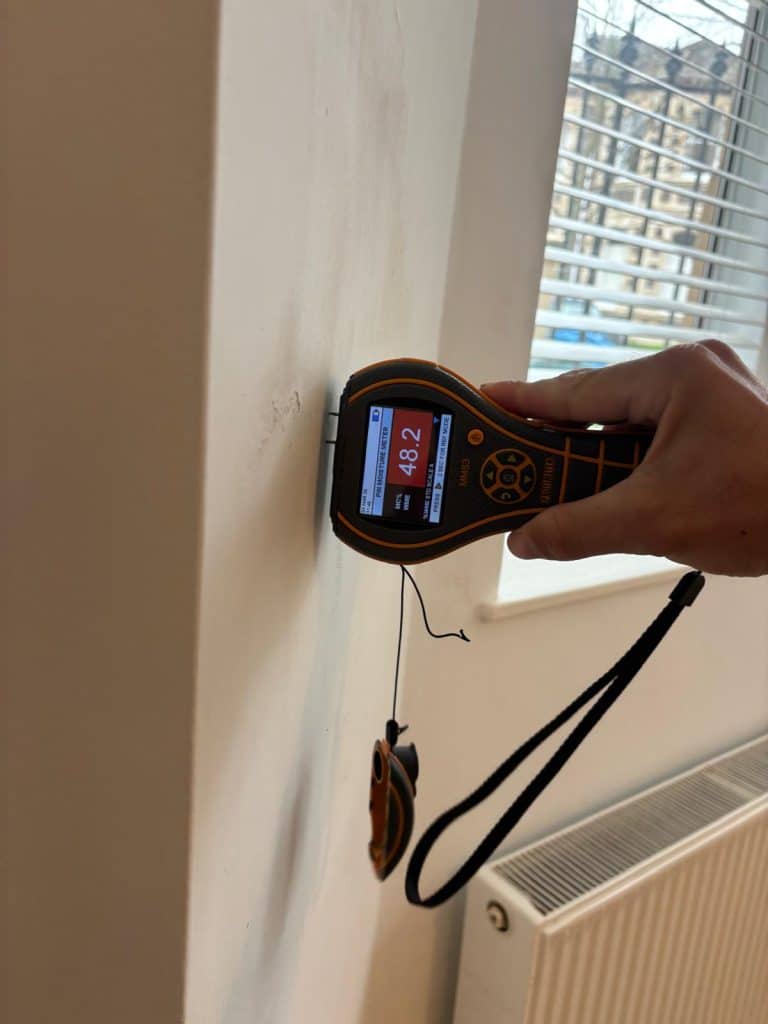
Why does damp form around windows?
The area around a window is vulnerable because rainwater has several possible routes into the wall. Failed sealant, cracked pointing, damaged render, a defective sill or a problem above the opening can all allow moisture to enter.
The window reveal is also colder than the surrounding wall. Warm, humid indoor air can condense on that colder surface, which is why black mould and damp often appear neatly around the frame while the rest of the wall stays dry.
If the problem does not change after rainfall and mainly affects the reveals or corners, condensation is usually the first thing to consider.
How can you tell condensation from penetrating damp?
Condensation is the most common cause. It tends to appear as water on the glass, black spotted mould, or damp around the reveals and corners. It is usually worse in winter and does not become noticeably worse when it rains.
Penetrating damp comes from outside and normally follows the weather. If the patch darkens during or after heavy rain and dries back in settled conditions, check the window frame, sill, pointing and masonry around the opening.
Typical signs to compare include:
- Condensation: water on the inside of the glass, black mould, worse in winter, no clear link to rainfall
- Penetrating damp: defined patches, worse after rain, staining below or above the window
- Rising damp: starts near the skirting, affects ground-floor walls only, often leaves salts or a tide mark
What should you check outside the window?
Start with the sealant where the window frame meets the masonry. Sealant can shrink, crack or separate as it ages, sometimes at the back edge where the damage is difficult to see. Failed sealant should normally be removed and renewed properly rather than covered with another bead.
Then inspect the sill. It should slope away from the property and have a clear drip groove underneath so rainwater falls away instead of tracking back towards the wall. Cracks, blocked drip grooves or badly installed replacement sills can all cause damp below the opening.
Finally, check the masonry above the window. Damaged pointing, cracked render, blocked weep holes or a failed cavity tray can allow water to cross into the internal wall. Cavity-tray problems can require more disruptive repairs, so they are worth confirming before committing to work.
Could it be rising damp?
Rising damp is much less likely than condensation or penetrating damp around a window. It starts at the base of a ground-floor wall and moves upwards through the masonry.
Typical signs include a low horizontal tide mark, damaged plaster and salt deposits close to the skirting. If the damp begins around the window and moves downwards, it is unlikely to be rising damp.
Upper-floor windows cannot be affected by rising damp. If the problem is on a first or second floor, look instead at condensation or water entering around the window or wall.
How do you stop condensation around windows?
The first step is to reduce indoor humidity. Use trickle vents or open windows regularly, run extractor fans when cooking or showering, and avoid drying clothes indoors without ventilation.
Heating also matters. Keeping a steadier background temperature can help warm the window reveals and reduce the chance of condensation forming. Furniture should be kept slightly away from external walls so air can circulate properly.
If the problem continues despite good ventilation and sensible heating, improved mechanical ventilation or insulation around particularly cold reveals may be needed.
How do you fix penetrating damp around a window?
Penetrating damp should be treated at the source. Failed sealant needs replacing, damaged pointing or render should be repaired, and cracked or badly sloping sills should be corrected.
Drip grooves and weep holes should also be kept clear. If a cavity tray has failed, the repair may involve opening the masonry, so it should be properly diagnosed before work begins.
Once the source of the water has been stopped, allow the wall enough time to dry before replastering or redecorating. Wet masonry can take much longer to dry than people expect.
What does window damp proofing involve?
Window damp proofing is not one standard treatment. It may involve renewing sealant, repairing pointing, correcting the sill, reinstating a drip groove, replacing a cavity tray or improving insulation around a cold reveal.
Where condensation is responsible, raising the surface temperature around the window can sometimes solve the issue more effectively than applying any waterproof coating.
Be cautious with one-size-fits-all waterproofing products. On some solid-wall properties, sealing the surface can trap moisture instead of allowing the wall to dry naturally.
When should you get it checked?
A professional inspection is worth considering if the damp repeatedly returns after decorating, if there is cracking around the opening, if plaster is blowing, if timber is becoming soft or if replacing the window sealant has made no difference.
Thermal imaging can reveal cold areas around the window, while deep moisture readings and humidity monitoring can help distinguish condensation from moisture entering through the wall.
Across Dorset, Hampshire, Wiltshire, Somerset and the wider South Coast and South West, Nordic Damp Proofing investigates recurring window damp using thermal imaging, moisture testing and humidity monitoring.
The aim is to establish where the moisture is coming from before any repair work begins.