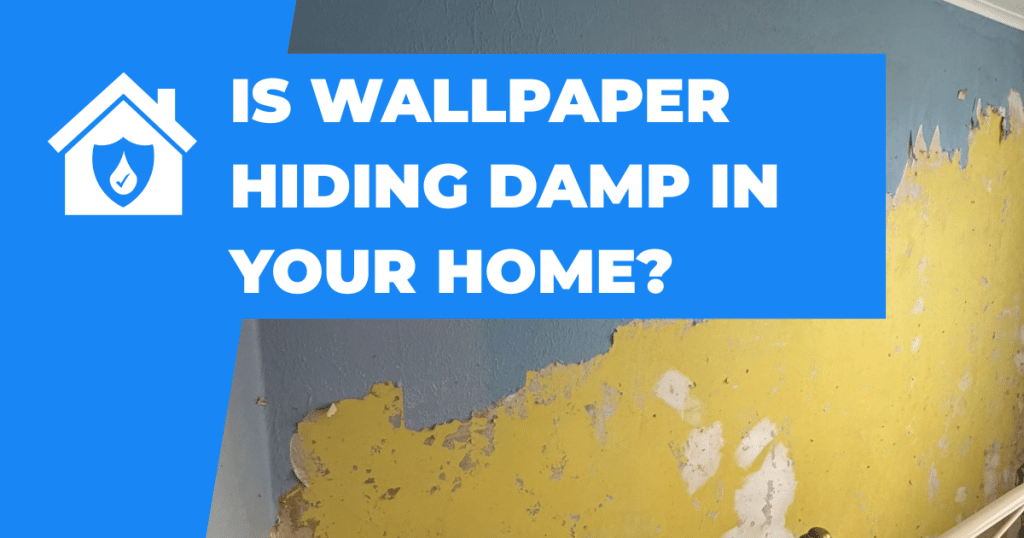
Wallpaper can mask early damp symptoms and, in some cases, make the problem worse by trapping moisture. You can smell mould even when you can’t see it—because it may be behind surfaces like wallpaper, and that disturbing wallpaper can release a significant amount of spores.
For homeowners and landlords, the right approach is always the same: identify the moisture source first, then treat the damage, then redecorate. The UK government’s damp and mould guidance is clear that simply removing visible mould doesn’t stop recurrence—you must tackle underlying causes.
If there’s persistent mould, recurring wallpaper failure, damp after rainfall, or anyone in the home experiencing symptoms, it’s time to book a professional assessment. Damp and mould can affect health (especially respiratory health) and shouldn’t be left to “see if it dries out.”

Why wallpaper hides damp
Wallpaper is a decorative layer that can conceal the first stage of damp—subtle discolouration, fine salts, and damp “shadows” that haven’t yet broken through paint. Patterns and textures hide staining; thicker wall coverings hide hairline cracks and minor blistering until the moisture load becomes high enough to cause bubbling, peeling edges, and adhesive failure. Peeling paint or wallpaper, “wet” feeling walls, musty odours, and spongy wood are common warning signs of damp.
There’s also a practical “blind spot” issue: mould often develops in low-airflow zones—behind wardrobes, beds, and full-height furniture—where wallpaper may look “fine” from across the room while the wall behind stays cold and damp.
Finally, some wall coverings (especially vinyl wallpapers and certain linings) behave more like vapour barriers, reducing drying potential.
What usually causes damp behind wallpaper
Most “hidden damp” under wallpaper falls into four root categories (and sometimes more than one is happening at once):
Condensation (the most common)
Moisture from cooking, showers, drying clothes, and even breathing can be trapped indoors without adequate ventilation; it then condenses on cold surfaces and can lead to damp and mould. Routine activities generate significant indoor moisture, and without effective ventilation, it can become condensation, leading to damp and mould.
Rising damp
Typically seen as moisture at the base of a wall that reduces with height, often with a tide mark and ground salts (chlorides/nitrates) in plaster.
Penetrating damp
Water enters through the building envelope: defective roof coverings, faulty flashings, damaged pointing/render, and failed rainwater goods. Roof issues, gutters, and flashing are common causes.
Leaks (plumbing/“traumatic damp”)
Burst pipes, failed seals, waste pipe leaks, or overflow events may soak the wall from inside. Government guidance lists leaking pipes and overflowing sinks/baths among causes of traumatic damp.
Why this matters: damp symptoms behind wallpaper are easy to misread. Condensation can even occur within building fabric (interstitial condensation), going unnoticed until it manifests and is then misdiagnosed.
What to look for behind wallpaper
Hidden damp usually shows itself as changes to the surface, smells, and “feel” of the wall. Signs like lifting/peeling wallpaper, cold or damp-feeling surfaces, musty odours, and visible mould.
Visual signs and likely causes
The same visual symptom can have multiple causes—so treat this table as a triage tool, not a diagnosis. (Patterns are drawn from UK council and industry guidance.)
| Visual sign (on/behind wallpaper) | Likely causes to consider |
|---|---|
| Bubbling/blistering wallpaper or “soft” raised patches | Condensation on cold walls; penetrating damp; leak soaking plaster; trapped moisture behind less-breathable coverings |
| Peeling edges / wallpaper paste “letting go” | Persistent humidity/condensation; rising damp at low level; salts disrupting adhesion; poor airflow behind furniture |
| Yellow-brown staining in a localised area | Penetrating damp (roof/gutter/pointing defect) or plumbing leak; staining often indicates where water is entering |
| Tide mark up to ~1m with crumbling/skirting damage | Rising damp or low-level penetrating (“splash zone”) moisture; check DPC bridging and external ground levels |
| White, powdery salts (efflorescence) or “salting” under paper | Ground salts associated with rising damp; salts can continue to attract moisture (hygroscopicity) |
| Black mould spots (often corners/behind furniture) | Condensation and poor ventilation; may also be secondary to a leak increasing indoor humidity |
| Musty odour with no visible mould | Hidden mould behind wallpaper/carpets/boxing; proceed carefully when disturbing surfaces |
Room-by-room examples

Bedrooms. Condensation often shows on colder external walls and around windows; it’s common in winter and can appear on bedroom windows/walls. Behind wardrobes on external walls is a classic “hidden mould” zone.
Bathrooms. Steam loads the air quickly. If extraction is weak, moisture can migrate to wallpapered areas (or even adjacent rooms) and settle on cold surfaces. Ventilation guidance emphasises using and maintaining extractor systems and background vents to remove moisture.
Kitchens. Boiling, dishwashing, and drying create persistent humidity. The PCA notes kitchens are a primary source of atmospheric moisture and identifies corners, windows, wardrobes/cupboards as hotspots for condensation.
Basements and ground floors. These spaces are colder and more susceptible to ground moisture and condensation. Health guidance lists rising damp in basements/ground floors, leaking pipes, and roof/window faults as moisture causes.
Quick DIY checks before redecorating
If you suspect wallpaper is hiding damp, you can do a few low-risk checks. Do take care: Removing wallpaper can release mould spores—use caution and consider professional help if you suspect extensive hidden growth.
DIY checklist
| DIY check | What it can indicate |
|---|---|
| Lift a small corner of wallpaper (where already peeling) and photograph the back | Mould staining on paper backing; salts; wet plaster—evidence of hidden damp |
| Smell test (close the room for a few hours, then re-enter) | Persistent musty odour can indicate hidden mould even without visible growth |
| Touch test on wall and skirting (cold/damp feel; soft timber) | Dampness in fabric; potential rising damp at low level; moisture increasing decay risk |
| Check for recurring window condensation most mornings | Excess indoor humidity/condensation risk; likely ventilation/heating imbalance |
| Use a hygrometer (aim to keep RH controlled, especially in winter) | High RH supports condensation and mould risk; helps separate “humidity problem” from isolated leak |
| Inspect gutters/downpipes, pointing, roof flashings; check for staining after rain | Penetrating damp pathways—rainwater goods are major contributors; damp may show only when wall saturates |
| Loft/roof check (staining, damp insulation, daylight through coverings) | Roof leaks can drive penetrating damp and ceiling/wall staining |
A note on handheld damp meters: Nordic is cautious against diagnosing dampness using only a damp meter—these are accurate in timber, but wall readings can be misleading due to conductive materials (including salts).
How professionals confirm the real cause
Correct diagnosis is where most “wallpaper-damp” jobs are won or lost. Historic England’s guidance stresses that damp can have multiple sources, and that time and money can be wasted—or problems worsened—if causes are not properly diagnosed.
At Nordic Damp Proofing, we typically apply a non-invasive-first approach (and escalate to targeted invasive checks only when needed), aligned with the principles in the 2022 joint position statement.
Key methods we use include:
Moisture profiling: mapping readings at multiple heights and positions to identify patterns consistent with rising damp, penetrating damp, or condensation (rather than relying on a single “high reading”).
Thermal imaging (thermography): to identify cold bridges, damp “cool” areas, and hidden moisture patterns. The 2022 joint statement lists thermal imaging among recognised tools for moisture investigation.
Humidity logging / environmental monitoring: using thermo-hygrometers/data loggers to evidence whether the indoor environment is driving condensation over time. The UK government explicitly references thermography and environmental monitoring for complex cases.
Borescope/endoscope inspection: where appropriate, we can inspect voids behind linings or within cavities with minimal disruption. Many borescope surveys use a small access hole (often around 10mm) to insert a camera probe.
Salt awareness and plaster assessment: rising damp often brings hygroscopic salts; council and PCA guidance link salts and tide marks with rising damp, and salt contamination can require plaster replacement rather than simple redecoration.
Timber checks: because damp behind wallpaper can be the “front end” of a bigger problem affecting skirtings, joist ends, or embedded timbers. (The joint statement explicitly includes competence in assessing timber decay and related defects.)

What to do once you’ve found damp behind wallpaper
Effective remediation is staged:
Fix the moisture source first. For penetrating damp, this may be roof repairs, gutter/downpipe repairs, repointing, flashing work, or addressing external defects—repeatedly point to rainwater disposal and building envelope defects as key causes.
Control internal moisture where relevant. Ventilation guidance is clear: ventilation removes stale air and moisture; without it, moisture becomes condensation and can lead to damp and mould.
Dry-out properly. Dehumidification and airflow can help, but dehumidifiers can assist with airborne moisture yet do not solve root causes of condensation.
Treat mould safely. If mould is present, treat it as a health-related issue and avoid aggressive disturbance. Potential respiratory impacts to vulnerable groups (children, older people, those with asthma/eczema).
Repair finishes correctly before re-papering. Salt-contaminated plaster may need removal and replacement (not just stain block and wallpaper). This is a frequent reason “new wallpaper fails again” months later—because the substrate never recovered.
When to call Nordic Damp Proofing
Call us (or book a survey) when any of the following are true:
- Damp or mould keeps coming back after cleaning/redecorating (a strong sign the cause remains).
- You can smell mould but can’t see it, especially if you suspect it’s behind wallpaper—this is specifically flagged in government and ombudsman guidance.
- Damp appears after rainfall or gets worse in storms (often penetrating damp/rainwater goods).
- There are health symptoms in the household (cough, wheeze, asthma flare-ups), or vulnerable occupants—seek medical advice as needed and treat the housing issue urgently.
- You have soft plaster, decaying skirtings, or timber concerns (the problem may be beyond decoration).
If you’re ready to stop guessing and start fixing, book a professional assessment through Damp Surveys and explore long-term solutions under Damp Proofing Services. We offer free quotes for homeowners and landlords, and 25-year guarantees are available on qualifying remedial work; our surveyors are PCA-trained and accredited (Biokil Crown, ISSE).